I’m having trouble figuring out how to connect to a WebDAV server from my computer. I tried a few methods but keep running into errors or can’t seem to find the right settings. Can someone walk me through the simplest way to access WebDAV, or share any tips that worked for you? I’m hoping to get my files synced soon.
Connecting to WebDAV: A Practical Guide
Ever tried getting WebDAV to work with your files and wondered why it always feels a bit old-school? Let’s cut through the confusion together. Here’s the real rundown on how to access your WebDAV storage, minus the jargon—all pulled from my own trial-and-error.
Plugging WebDAV into Windows
Let me just vent for a second: Windows makes this sound fancy, but it’s pretty much connecting a shared folder. Here’s what actually works, step by step:
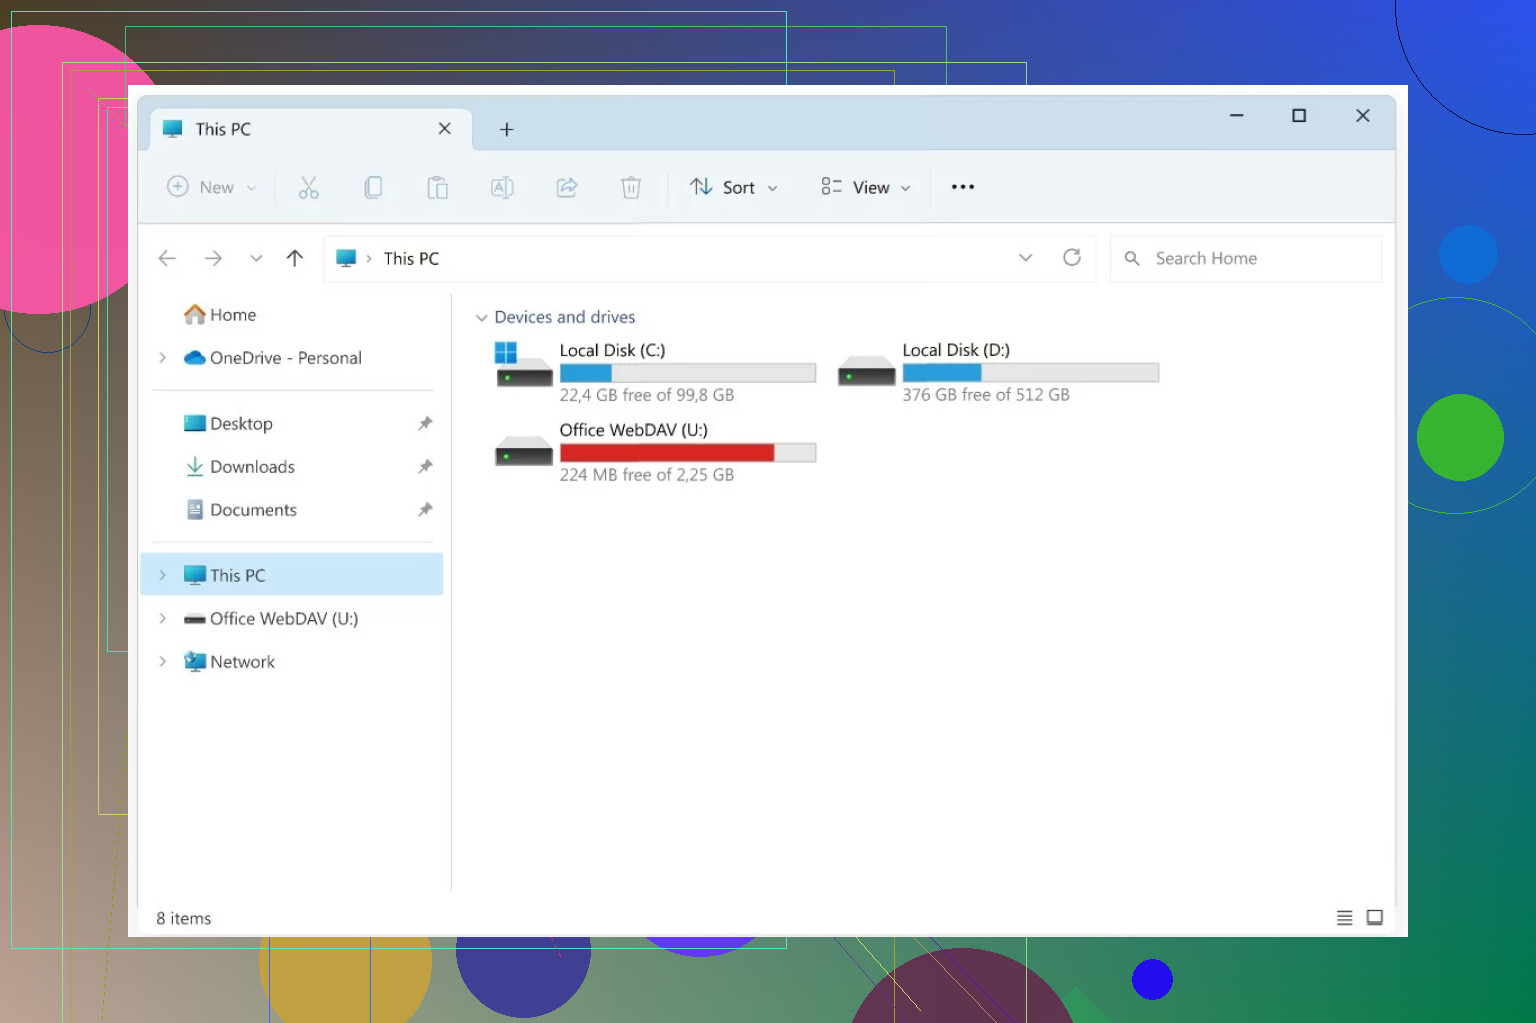
- Pop open File Explorer—yeah, the shortcut that looks like a yellow folder.
- On the left, scroll to “This PC” and click it.
- Up on the top, smack those three little dots (…), then hit “Map network drive.”
- Now, time for the details: Pick the drive letter you want, and paste your WebDAV URL into “Folder.”
- Definitely check that box for “Connect using different credentials” (unless you want Windows to get lost).
- Hit “Next,” then “Finish.”
- When that login prompt shows up, jam in your WebDAV username and password.
If it throws a weird error, double-check if your URL uses http or https and that your firewall isn’t blocking you. Been there, done that.
Adding WebDAV to macOS Without the Drama
Here’s where Finder does its magic—if you know the trick. No need to be an Apple genius.
- In Finder, click on “Go” in the top menu, then select “Connect to Server.”
- Type in your WebDAV server address up top—looks something like
http://example.com/webdav/. - Click “Connect.”
- Wait for the credentials box, then put in your username and password.
That’s it. The drive should just show up on your desktop like any other folder. Unless it doesn’t… in which case, try that URL again!
When Default Tools Aren’t Enough: Using CloudMounter
So sometimes, Finder or Explorer just plain refuses to cooperate, or you want a bit of extra security. I stumbled across CloudMounter while hunting for a fix.
Here’s why it’s kind of handy:
- You get to treat WebDAV like it’s just another drive—right in your Finder.
- It lets you create, rename, and move files like you’re working locally (not on some remote mystery server).
- Your data doesn’t get handed out to the world, since CloudMounter adds another privacy layer before anyone can touch your stuff.
Here’s how to get it rolling:
- Open up the CloudMounter app.
- Find the WebDAV icon among all the cloud options, and click it.
- Fill in the info: name your connection, paste in your WebDAV URL, type up your username and password.
- Hit “Mount” and… that’s it—the drive pops up and you’re in business.
Wanna see what it looks like? Feast your eyes:
TL;DR for Those Who Skim
- On Windows: Use File Explorer > Map network drive > follow the prompts.
- On Mac: Try Finder > Go > Connect to Server, then log in.
- Still stuck or want more control? CloudMounter lets you boss your WebDAV folders around with a click.
If you hit weird errors, check your network settings and make sure your URLs are squeaky clean!
24 Likes
Okay, so after reading @mikeappsreviewer’s epic step-by-step, gotta say—I agree with a lot but not all of it. Mapping via File Explorer or Finder works…when you’re living in a perfect world. In reality? Windows acts up, macOS gets moody, and suddenly nothing mounts. Been there, cursed that.
Let’s not forget, though, that the “easy” methods are only as good as your network configs and whether your IT guy/gal hates you. Sometimes the built-in stuff doesn’t work, especially if you’ve got two-factor auth, self-signed certs, or secret sauce on your WebDAV server. Then you’re staring at cryptic errors all day (serious PTSD from “Network Error 67”).
Honestly, if you’re tired of chasing your tail, third-party clients are the grown-up shortcut. CloudMounter isn’t just some backup plan—it’s legit the simplest way I’ve found. Drag, drop, log in, done. No dancing with drive letters, no pretending Windows “WebDAV mini-redirector” will behave. CloudMounter’s UI is normal-people friendly, and it doesn’t freak if you switch networks or disconnect by accident (unlike Windows, which sometimes makes your mapped drive vanish into the void).
And if you’re on Linux like some of us stubborn folks, try davfs2 or plain ol’ GNOME’s “Connect to Server.” Just know: Linux is weird and will sass you with error logs.
Bottom line? Try CloudMounter if you’re sick of error messages and just want WebDAV to work like Dropbox. The “official” way is fine, but I’d rather not gamble with my sanity. Your call.
Honestly, if you’re still searching for the “easiest” route after reading those novels—I mean, replies—from @mikeappsreviewer and @cacadordeestrelas, I feel you. Mapping a WebDAV drive with Windows’ built-in tools or Mac’s Finder works… until it randomly doesn’t. Pro tip: fiddling for 20 minutes with “Map Network Drive” only to get “Network path not found” is a rite of passage, but not one anyone enjoys.
Now, here’s where I go rogue: skip the “official” tools entirely if your patience for troubleshooting is below “IT helpdesk on a Friday.” Instead, go straight for CloudMounter. No, I’m not sponsored (wish I was), just tired of Windows and macOS gaslighting me about network shares. CloudMounter just lets you sign in, mount the WebDAV thing like a regular drive, and drag n’ drop files as if you’re using Dropbox or Google Drive—except it’s actually your server.
Real talk: avoid crazy errors about SSL, certs, or drive letters doing the cha-cha. If you want to actually get stuff done, CloudMounter is the least aggravating way I’ve tried. Plus, if you’re switching between home WiFi, Starbucks, and your neighbor’s probably-illegal signal, the drive doesn’t vanish like with default tools.
If you’re a masochist running Linux, look up davfs2 or GNOME. Otherwise—look, the “easy” way is usually a third-party app, period. Don’t let anyone tell you mapping network drives is somehow more virtuous. That’s boomer energy.
So, my take: stop fighting built-in tools, give CloudMounter a spin, and reclaim your afternoon. If you hate it, at least you didn’t spend it screaming at “Error 0x80070043.”
If you’re still tumbling down the WebDAV rabbit hole, here’s the no-nonsense scoop: the “Map Network Drive” method in Windows and Finder’s “Connect to Server” on Mac are OK in theory, but way too temperamental in real life. (Props to those in the last thread for spelling it out, but let’s keep it real—when your servers throw SSL tantrums or your mapped drive ghosts after sleep mode, that’s a productivity killer.)
Here’s where CloudMounter earns its stripes: it actually treats WebDAV like a first-class citizen. Mount it, use it, forget about it. It’s refreshingly smooth compared to the circus of native options. The pros are obvious—super easy integration, one-click mounting, compatibility with a stack of cloud platforms, and none of the constant error messages. The privacy angle’s a bonus if you’re tired of trusting system apps with your server logins.
Is there a catch? Sure: CloudMounter isn’t free (you get a demo, but for real use, there’s a cost), and compared to something DIY on Linux like davfs2, it’s less “tweakable” and more plug-and-play. Power users might bump into the occasional feature they wish they could hack under the hood, but 99% of the time it just works.
As for the guides from other posters—yeah, they’ll get you started if you’re patient or lucky, but most of us would rather not play tech support just to access files. FileZilla or Cyberduck are also decent third-party alternatives, but they’re more for manual up/downloading than true “mounted drive” use.
Summary: Native is often frustrating, CloudMounter is smooth (but non-free), and classic third-party FTP clients are a halfway house. For hassle-free, working-everywhere WebDAV, CloudMounter is the answer—just know you’re paying a bit for your sanity.