My hard drive started making strange noises and now some folders will not open. A scan shows bad sectors, and I have important photos, work files, and documents I really need to recover before the drive fails completely. I need advice on the safest way to recover data from a hard drive with bad sectors without causing more damage.
Bad sectors are one of those problems where waiting makes things worse. I learned this the hard way on an old 2 TB drive. It started with slow folder opens, then CRC errors, then Windows froze when I tried to copy a photo archive. If your drive is throwing bad sector warnings, stop using it now.
If it is an external drive, unplug it. If it is inside your PC, leave it alone and do the recovery work from another machine if you have one. Every extra read or write hits a weak disk again, and sometimes one more scan is what tips it over.
Bad sectors usually fall into two buckets.
Soft bad sectors:
These are data consistency errors. The sector is readable in theory, but the data and its error correction info do not line up. I have seen these after unsafe shutdowns and random file system messes. Sometimes fixable.
Hard bad sectors:
This is physical damage on the disk. Wear, impact, aging, head issues, platter damage, stuff like tht. If you hear clicking, grinding, or beeping, I would stop right there. DIY attempts on a noisy mechanical drive tend to end badly. At that point, a recovery lab is the realistic path.
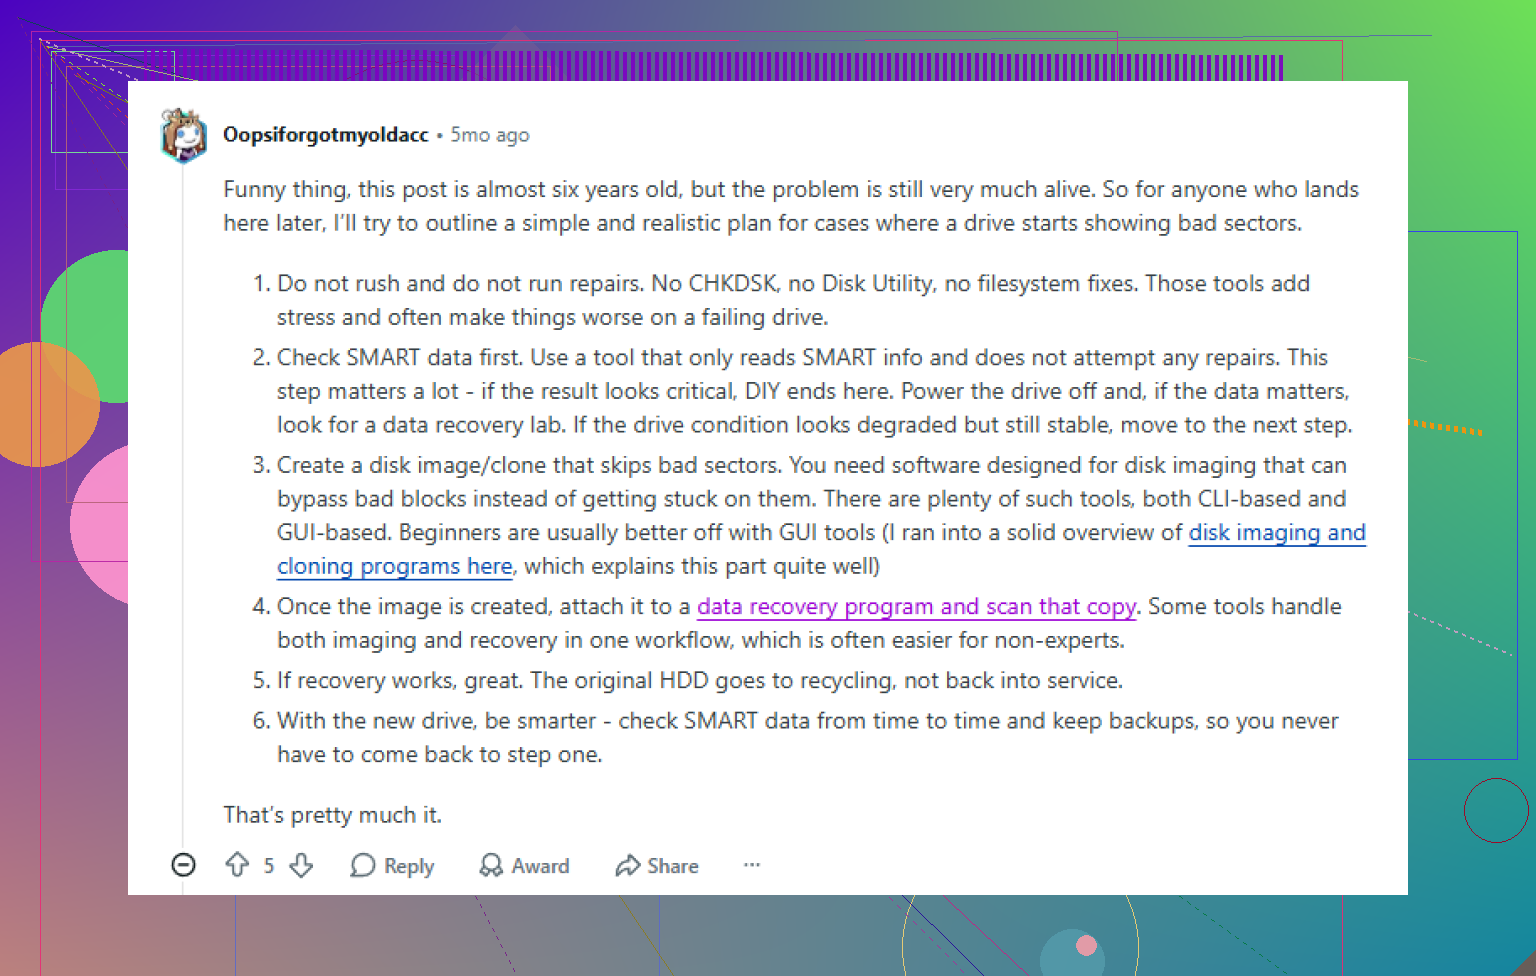
If the drive still shows up in the OS and it is only unstable, your best move is to image it first, then recover from the image. I would not run a normal recovery scan on a failing disk. Those scans read huge parts of the drive and they put stress on the hardware for a long time. I have seen drives disappear halfway through.
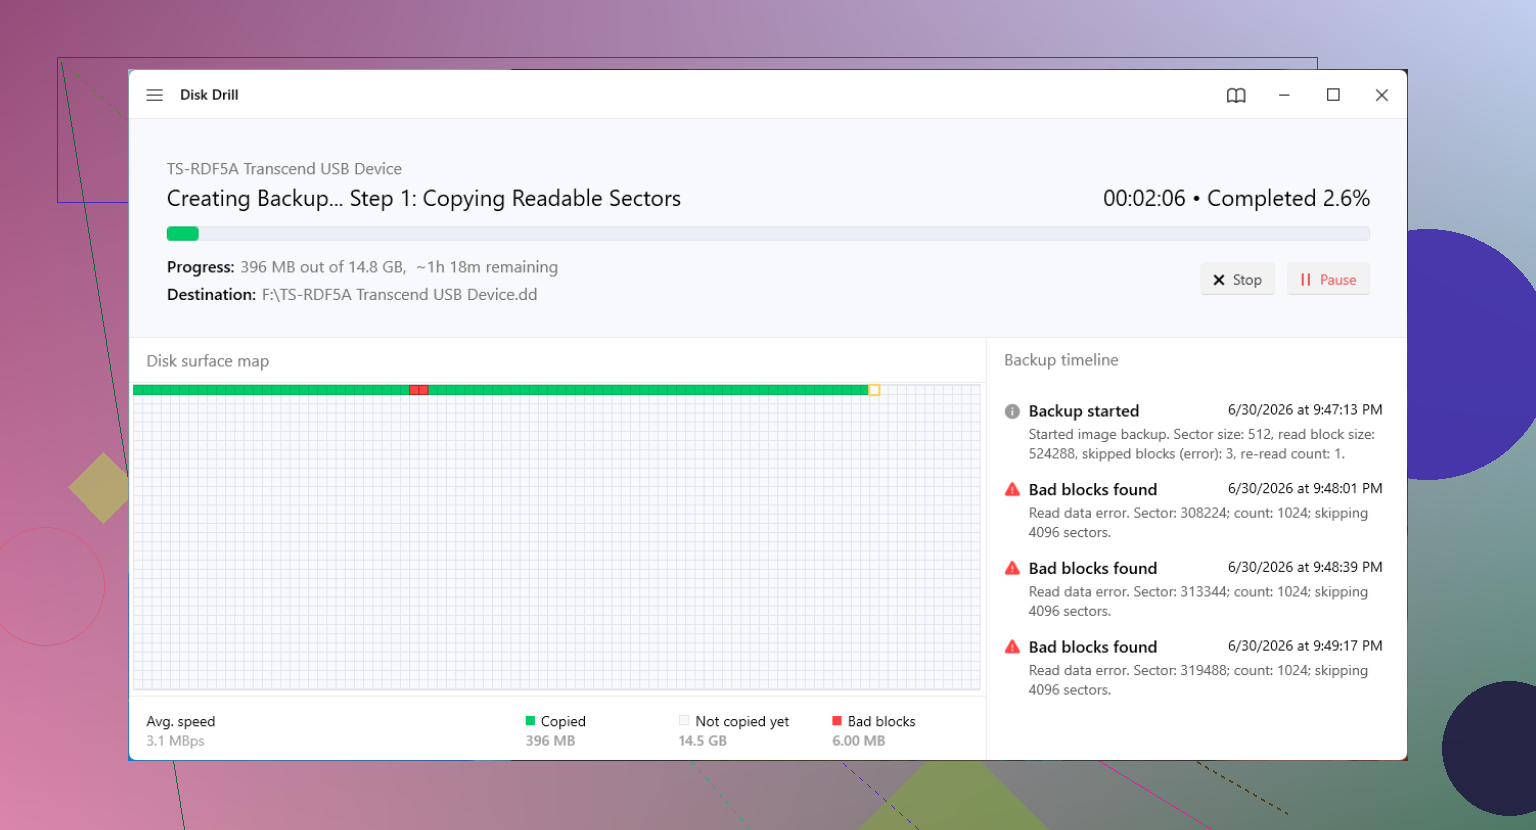
What worked better for me was making a sector-by-sector copy first, sometimes called a byte-to-byte image. You save the entire contents of the failing disk into an image file on a healthy drive. After tht, you stop touching the original disk and work from the copy.
One option for this is Disk Drill. The useful part here is the built-in byte-to-byte backup feature. It is meant for unstable media, and it tries to deal with bad blocks by skipping trouble spots and retrying with smaller block sizes. On a sick drive, this matters more than people think. You connect the failing drive and another healthy drive with enough free space, make the image, then mount or attach the image inside the app and scan the image instead of the original disk.
The short version:
First steps
- Install the recovery tool on a healthy computer.
- Connect the failing drive as a secondary device if possible.
- Use the drive backup or byte-to-byte image feature.
- Save the image onto a different healthy disk.
- Disconnect the failing drive once the image is finished.
- Scan the image file, not the physical drive.
If your files come back and now you are thinking about reusing the disk, I would be careful. Yes, Windows has tools like chkdsk /r in PowerShell, and a full format also checks sectors and marks bad ones so the OS avoids them. I have used both. They are fine for testing. They do not make a dying drive trustworthy again.
My rule got simple after a few failures. If a drive has started growing bad sectors, I retire it from anything important. At most, I use it for throwaway data I already have elsewhere. For family photos, work docs, project files, no shot.
If the drive does not show up at all, or the image is incomplete and recovery software gets nowhere, then you are into lab territory. Prices are ugly. I have seen people quoted from $500 to $3,000, sometimes more, depending on whether the issue is firmware, head damage, or platter damage. Labs have tools and clean environments you do not have at home.
The part people skip until disaster hits is backups. You want 3-2-1 if you care about the files.
Backup habit worth keeping
Three copies of your data.
Two different storage types.
One copy off-site.
I did not take this seriously until a drive started clicking on me at 1 a.m. while holding years of stuff I had not copied anywhere else. Since then, one local backup and one cloud copy has saved me more than once.
11 Likes
Stop running scans on it. Strange noises plus bad sectors is a bad combo. If this is a hard disk drive, every extra minute powered on matters.
I agree with @mikeappsreviewer on one point, do the least possible on the sick drive. Where I differ a bit is CHKDSK. I would not touch CHKDSK at this stage. It loves to “fix” things by changing metadata, and on a failing drive tht can make recovery worse.
What I’d do:
-
Pull the most important files first, in small batches.
Start with photos, docs, work files. Skip giant folders and video archives for now. If Explorer hangs, use a copy tool with retry control like TeraCopy or FastCopy. -
Watch SMART stats.
Use CrystalDiskInfo. If Reallocated Sectors, Pending Sectors, or Uncorrectable counts are rising, stop and move to imaging or a lab. -
Keep the drive cool and stable.
Bad USB cables, weak power bricks, and cheap SATA adapters cause extra read errors. Use a direct SATA port or a known good powered enclosure if you have one. -
If file copy fails, switch to image-based recovery.
Disk Drill is fine here, not for magic repair, but for recovering data from a damaged drive image once you have one. Scan the copy, not the original, when possible. -
If the drive clicks, grinds, or drops offline, stop.
That is lab territory.
Also, this is a solid read on recovering data from bad blocks, practical bad block recovery tips from Reddit.
For search terms, your issue is basically this: hard drive making strange noises, folders won’t open, bad sectors found, need to recover photos, documents, and work files before total drive failure.
Do not reuse this drive after recovery. Retire it. Even if it seems ok for a week or two, it isnt.
Strange noises changes the math. Bad sectors alone can sometimes be a ‘copy stuff off now’ problem. Noise plus bad sectors can turn into ‘drive dies mid-click’ real fast.
I mostly agree with @mikeappsreviewer and @kakeru, but I would push one thing a little differently. I would not spend much time cherry-picking folders first unless the drive is staying online reliably. On weak drives, hunting through Explorer can cause more random seeks than a straighter recovery pass. Sometimes that makes it worse, not better.
What I’d do instead:
- Stop booting from it if it’s your system drive
- Do not run CHKDSK, repair tools, defrag, or another surface scan
- Put it on the most stable connection you have, preferably direct SATA
- Recover the irreplaceable stuff in order of value, but using a recovery app that can handle read errors instead of normal drag-and-drop if Explorer keeps choking
If the disk is still detected, Disk Drill is a reasonable option here, especially because you can target only the file types and folders that matter most instead of banging on the whole drive forever. That can save time when you need photos, documents, and work files first. If the drive drops offline or starts clicking louder during reads, stop messing with it and go pro. No software beats damaged heads.
Also, ignore the temptation to ‘test it a bit more.’ People always do one more scan, one more reboot, one more copy attempt. That ‘one more’ is how drives go from recoverable to toast. Ask me how I know lol.
After you get the data off, retire the drive. Not maybe. Not ‘for less important files.’ Retire it.
If you want a simple walkthrough on using Disk Drill for damaged-drive recovery, this is pretty decent: watch how to recover files from a failing hard drive with Disk Drill.
And yeah, if it’s making grinding or beeping noises, skip DIY. That’s lab territory, even if the price hurts.

I’m going to disagree slightly with the “copy files first” angle from @kakeru and @sognonotturno. If the drive is making new mechanical noises, even browsing folders can trigger lots of random head movement. On some dying HDDs, that’s worse than a more controlled read pass.
What I’d add is this:
- Check whether it’s an HDD or SSD. Noise matters mostly for HDDs. SSDs can have bad blocks too, but clicking/grinding points to mechanical trouble.
- If it’s an external HDD, swap the enclosure/cable before assuming the platters are toast. I’ve seen flaky USB bridge boards cause read errors and disconnects that look like “bad sectors.”
- If the data is truly irreplaceable, set a stop-loss rule now. Example: if it disappears once, starts clicking louder, or SMART degrades during recovery, no more DIY.
On software, Disk Drill is fine if you use it the right way: image first if possible, then recover from the image.
Pros for Disk Drill:
- easy imaging/scan workflow
- good for pulling common file types fast
- friendlier than many recovery tools
Cons:
- deep scans can still take ages
- not magic against serious hardware failure
- if the drive is unstable, any software can only do so much
I’d avoid “repairing” the file system until after the rescue attempt. Recovery first, experiments later. Also, once you’re done, retire the drive completely. Not archive duty, not backup duty, nothing.