My Instagram photos keep looking dull, blurry, or awkward even when they seem fine in person. I’ve tried different lighting, angles, and edits, but my pictures still don’t look polished or engaging. I need help with simple tips for taking better Instagram photos, improving composition, and making my feed look more professional.
Good Instagram pics usually come down to a few boring things people skip. Light, framing, and whether you look stiff or like yourself.
The biggest fix I saw was light. Window light works. Outside early in the morning works. Late afternoon, before sunset, works too. Most overhead room lights make skin look off and flatten your face. If your background is messy, the photo gets messy too. I learned this the hard way after taking shots with a chair full of laundry in the corner. Your eye goes straight to the junk.
Angles matter more than people admit. I almost never like the first photo. Or the fifth. Taking 20 to 40 shots for one usable pic feels normal to me. A small turn of your face changes a lot. Chin too high looks odd. Too low, same problem. Relaxed poses usually win. When I tried to ‘pose,’ the result looked forced and kinda awkward.
If you do not want to deal with outfits, locations, lighting, tripods, editing, all of it, AI photo apps are one of the easier shortcuts now. I was skeptical at first, but some of them get close enough for Instagram use.
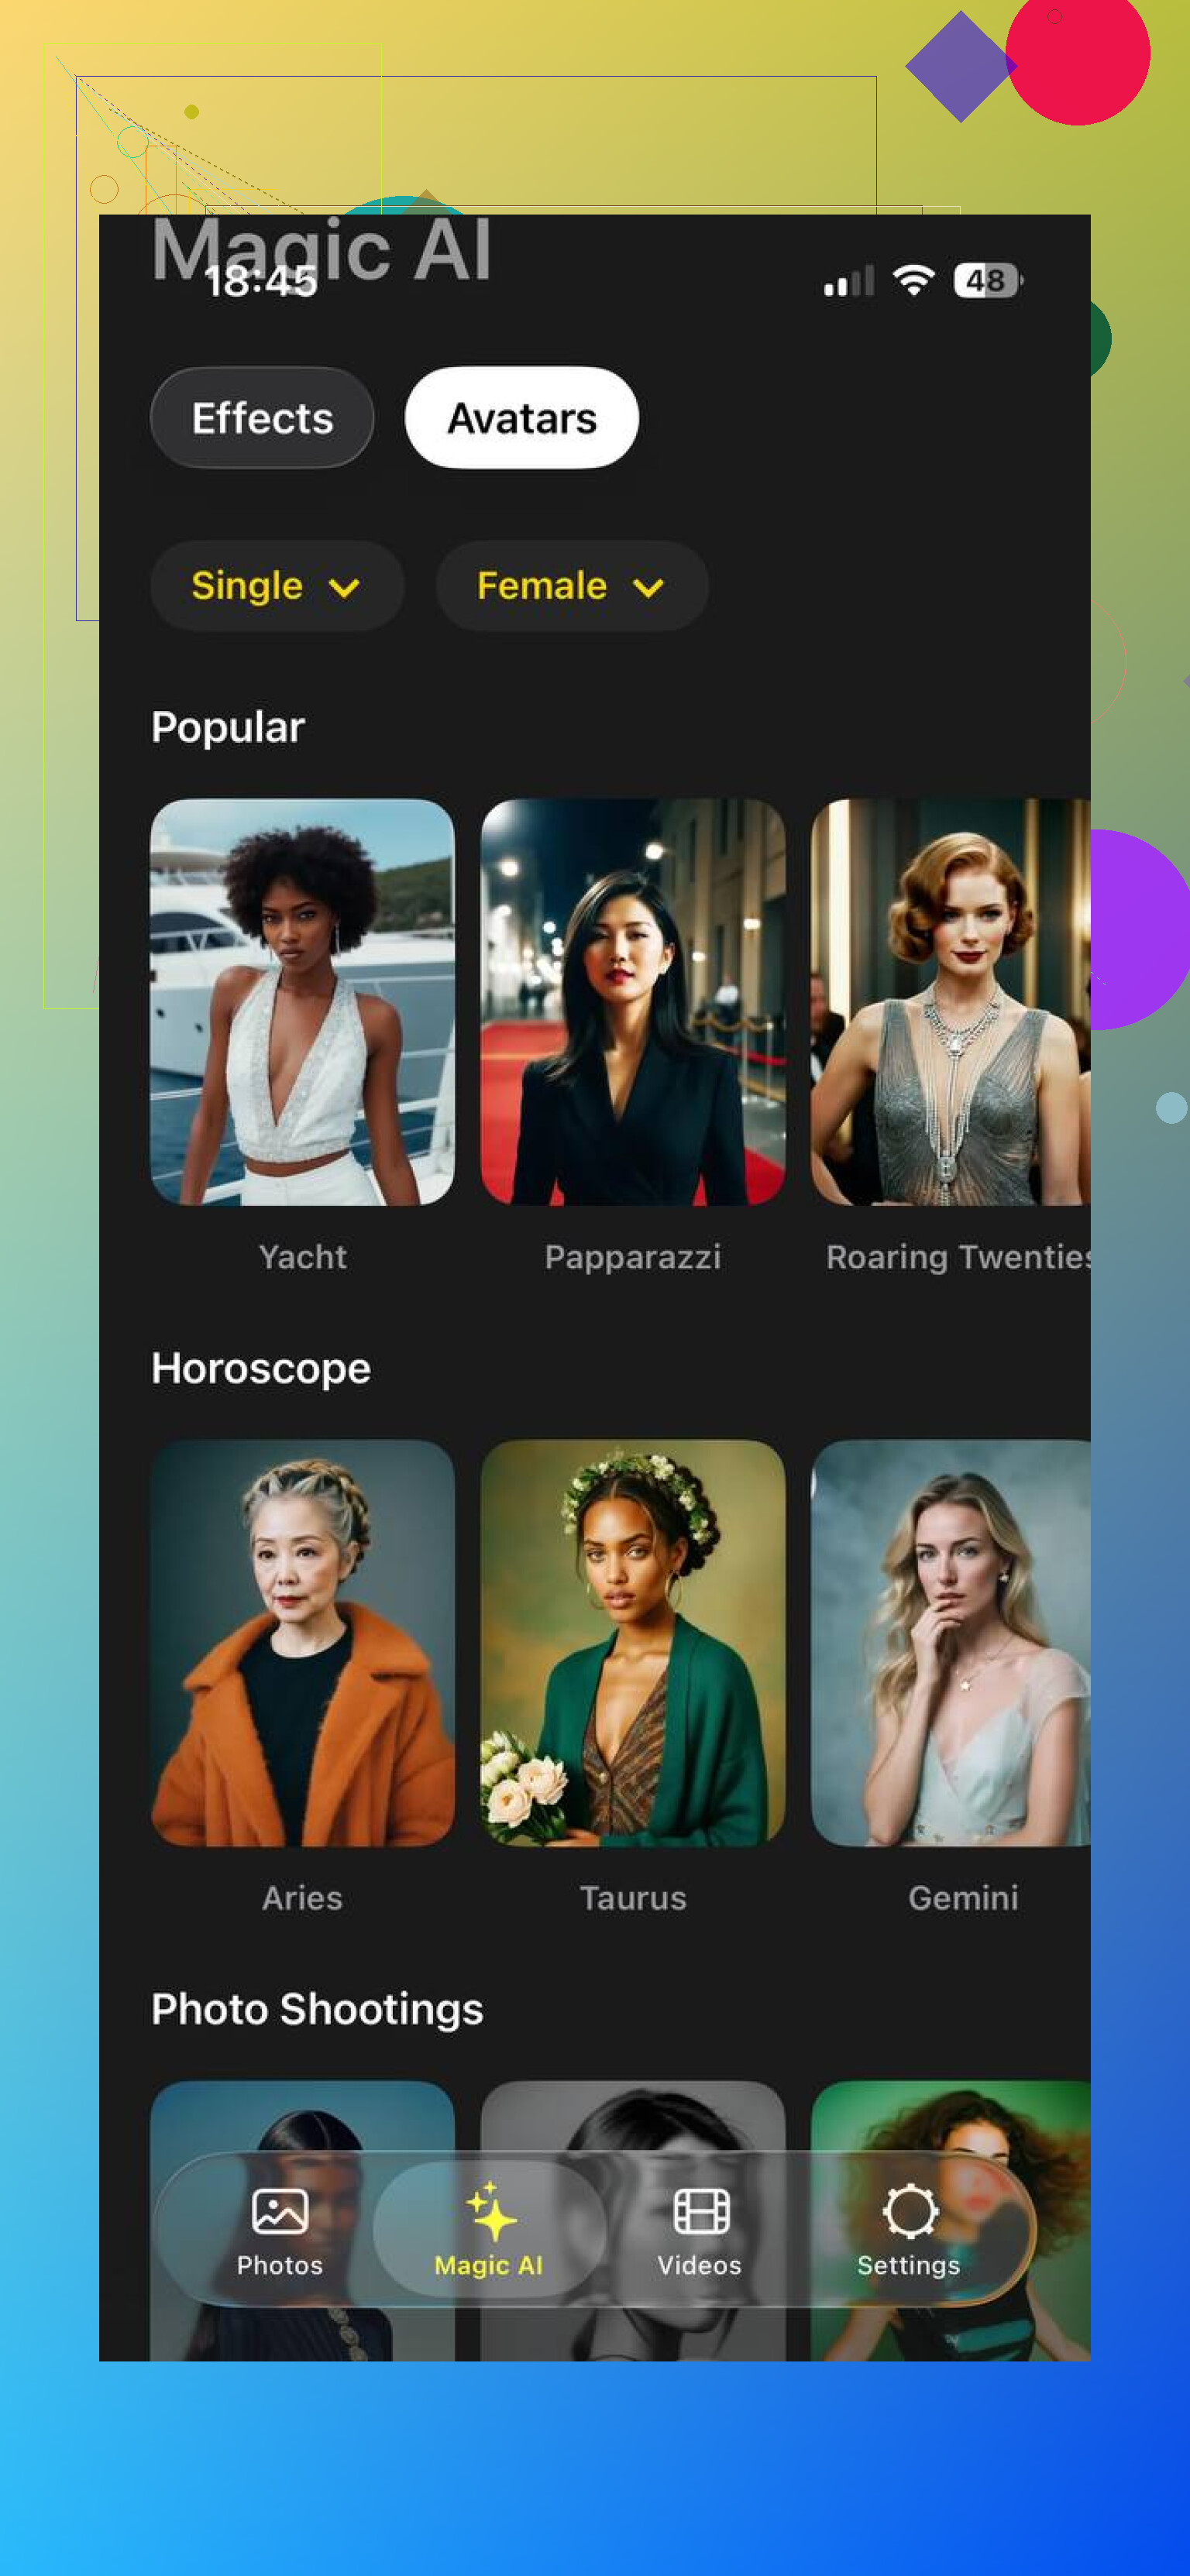
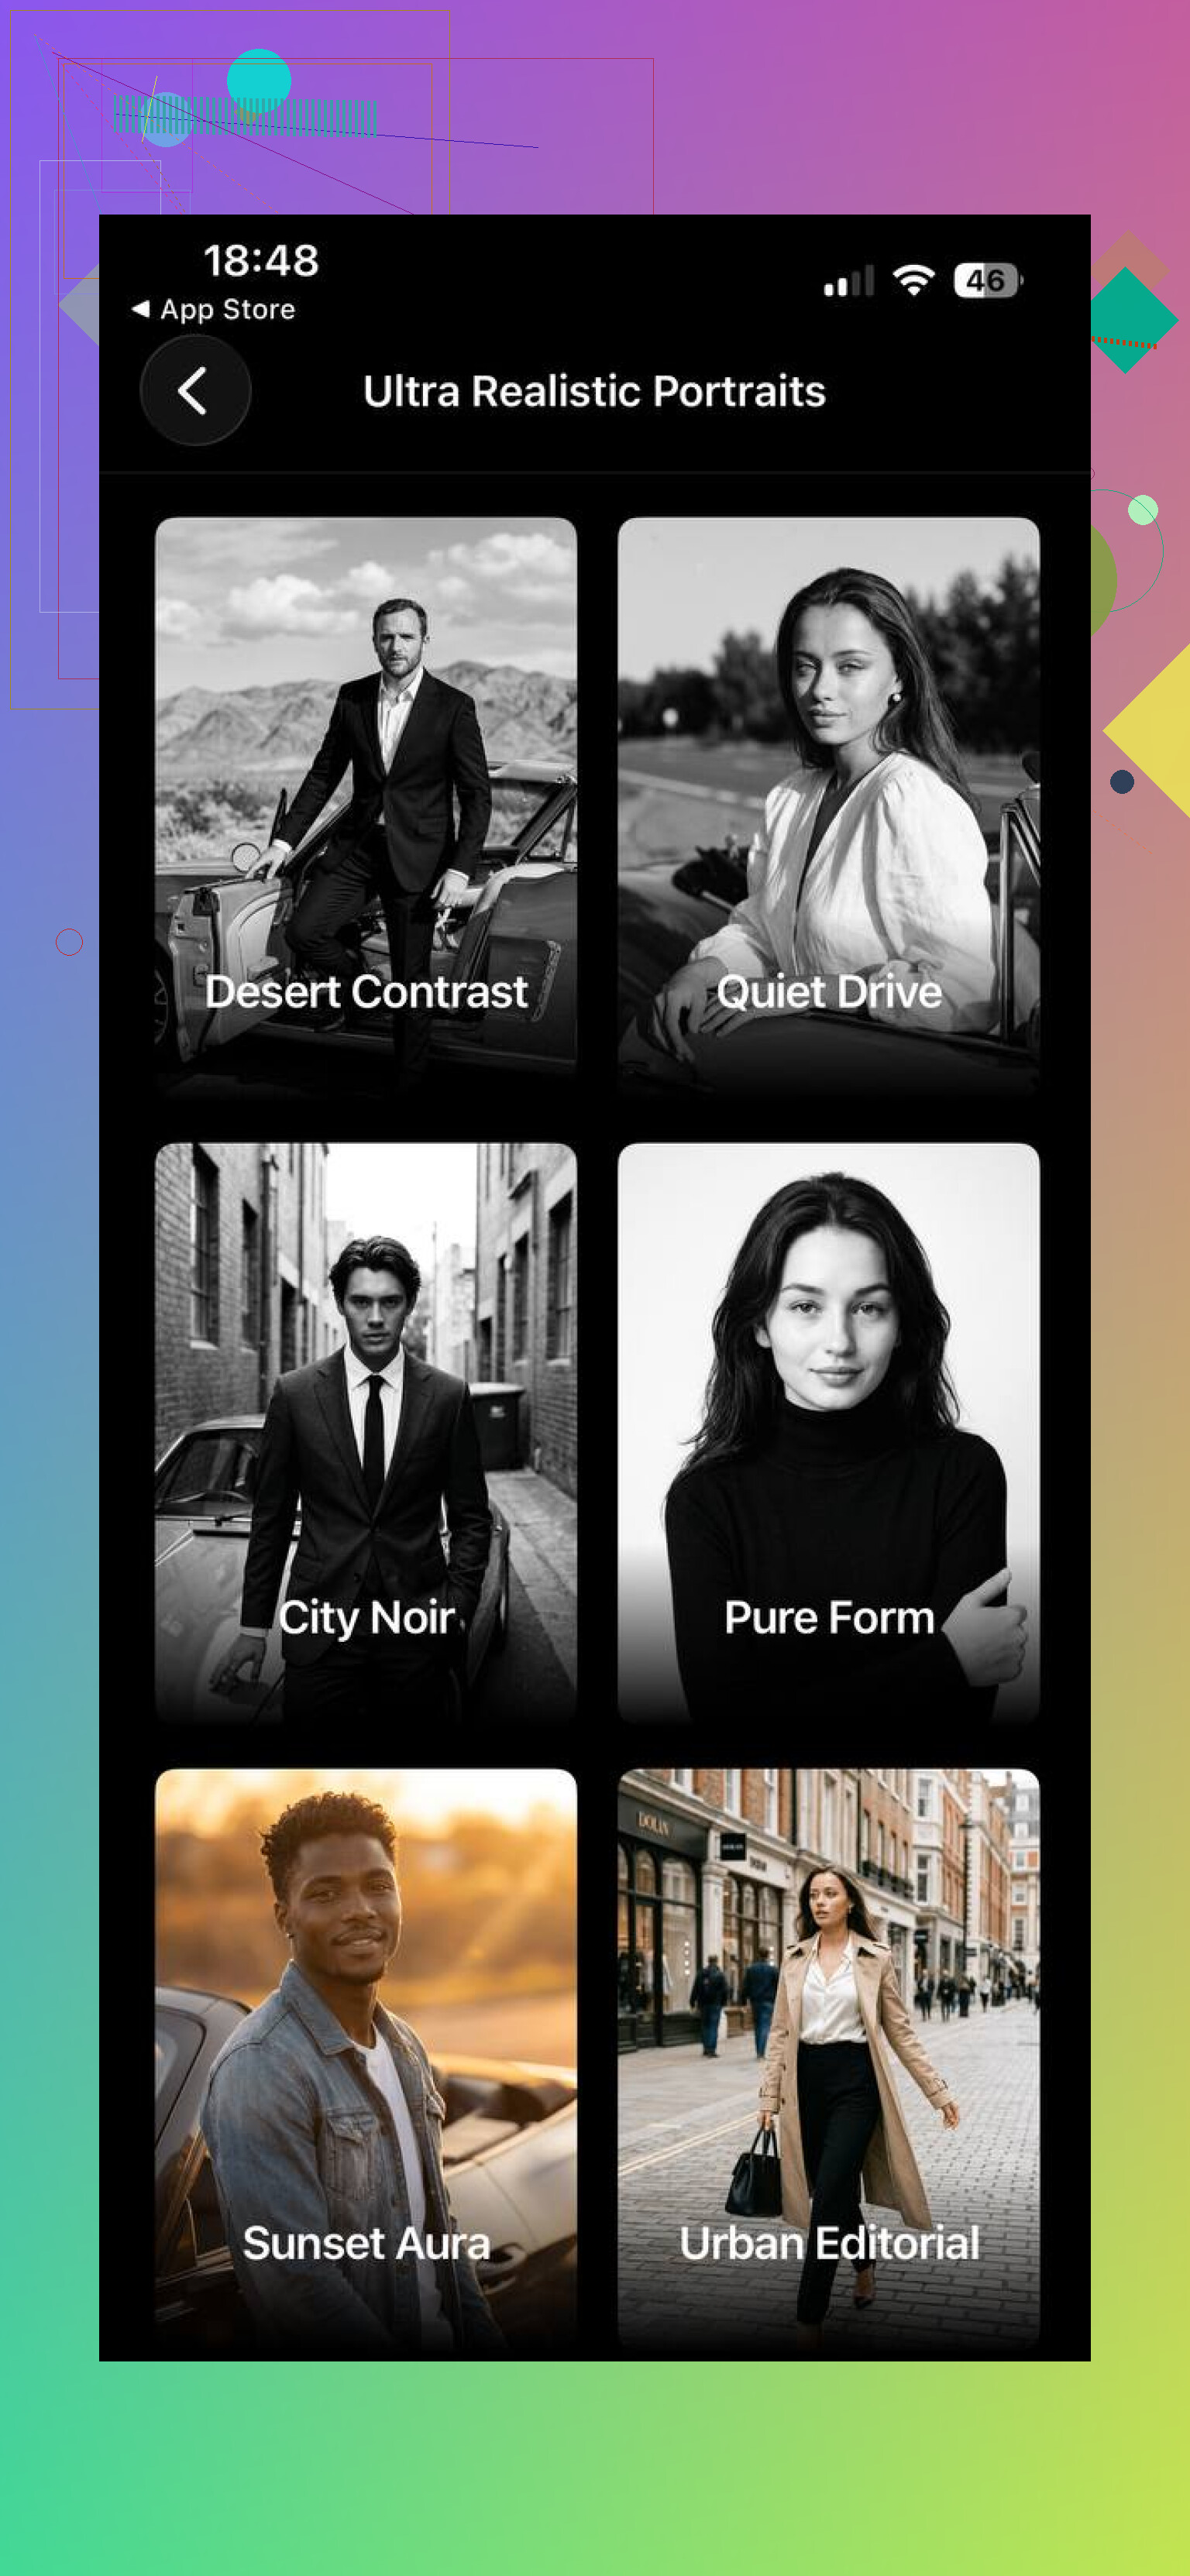
My pick is Eltima AI Headshot Generator App.
What I did was upload a few plain selfies. The app returned finished shots with different clothes, backgrounds, and lighting. It gets talked about as a LinkedIn headshot tool, but I thought the images also fit Instagram pretty well because they stayed closer to real skin and real facial features. They did not have the heavy filtered look I got from some other apps. If you do not own good outfits or you do not feel like booking a photographer, this saves time.

Lensa AI is the one most people know first. I tried it. It is fun if you want edited, stylized portraits. For realism, I had mixed results. A few images looked nice. Others had the polished AI face thing, too smooth, too clean, sort of fake once you stare at them for more than a second.
Momo felt more trend-driven to me. Lots of social templates, lots of looks made for posting fast. Some outputs were solid. Some drifted away from how I look in real life. So if your goal is variety and trendy content, it has a place. If your goal is consistency, I did not get it every time.
What pushed Eltima ahead for me was detail retention. Face shape stayed closer. Skin texture did not get wiped out. Most results looked ready to post with little or no extra editing. Lensa works better for an art-heavy style. Momo is okay for social-first templates. If you want photos which still look like you, Eltima AI Headshot Generator app is the strongest option.
You can also read this article to discover tips on how to take the best Instagram pics.
6 Likes
A few things I’d add to what @mikeappsreviewer said.
Your phone lens is often the problem. Wipe it every time. Pocket dust ruins sharpness fast. A blurry Instagram photo is often a dirty lens, not bad skill.
Tap to focus on your face. Then lower exposure a little before shooting. Phones tend to overbrighten skin and kill contrast. Slightly darker usually looks cleaner on IG.
Use the back camera more. The front camera is easier, but it often looks softer and wider. Faces get warped a bit. If you want selfies, use a timer and prop the phone up.
One thing I disagree on, a polished AI photo won’t help much if your feed still has weak originals. Better to fix capture first. Instagram compression is brutal too. If your pic looks soft after upload, export around 1080 by 1350 for portraits. Sharpen lightly before posting, not too much or it gets crunchy.
Also, check posture. Most “awkward” photos are posture problems, not face problems. Lengthen your neck, drop your shoulders, turn your body a little. Small fix, big diffrenece.
My quick checklist:
clean lens
back camera
tap focus
slightly lower exposure
portrait ratio 4:5
simple background
take bursts, pick later
Do this for a week and your pics should look less dull and less wonky.
One thing I’d add to what @mikeappsreviewer and @boswandelaar said is this: a lot of “bad photo” problems are actually timing problems.
People press the shutter too early. Right before the expression settles, right before the body relaxes, right while you’re moving. That’s where the awkwardness comes from. Instead of posing and snapping instantly, hold the pose for a second, breathe out, then take 3 to 5 shots. The best frame is usually in the middle, not the first one.
Also, stop editing every photo to death. Slight contrast, tiny color correction, maybe a little warmth. That’s it. If the pic needs 9 sliders to survive, the original shot probly wasn’t the one.
Another underrated fix is distance. If the camera is too close, faces look weird. Step back, zoom a little if needed, and crop after. It looks more natural. This alone helped me way more than filters ever did.
And honestly, not every photo needs to be “pretty.” Instagram pics do better when they have a mood or story. Coffee cup, street corner, messy book stack, rain on a window, whatever. A technically perfect pic can still feel boring.
My cheat version:
- shoot when you’re already doing something
- keep camera a bit farther away
- take the photo half a second later than you think
- edit less
- pick the image with feeling, not just the sharpest one
Kinda annoying, but the polished look is usually less about tricks and more about catching the one frame where you look like an actual person.
One thing I’d push harder than @boswandelaar, @viajeroceleste, and @mikeappsreviewer is color, not just sharpness.
A lot of “dull” Instagram photos come from mixed light. Window light plus yellow room bulbs plus TV glow equals weird skin and muddy backgrounds. Pick one light source only. If you’re indoors, turn the other lights off and face the window. If you’re outside, avoid standing half in sun and half in shade. That split lighting makes phones panic.
Also, I slightly disagree with the idea that more shots always solves it. Sometimes the problem is visual clutter, not timing. Before shooting, check the frame edges. Random doorframes, bins, table corners, and cropped hands make photos feel awkward fast.
Try this:
- wear one color that separates from the background
- use grid lines and keep vertical lines straight
- place your eyes near the top third
- turn on Live Photo or motion capture and choose a better frame later
- avoid ultra-wide unless you want distortion
If you want extra cleanup, ’ can help as a finishing step.
Pros for ':
- fast way to test polished looks
- useful if your backgrounds/outfits are weak
- can give a more consistent feed style
Cons:
- can look too processed
- may reduce spontaneity
- won’t fix bad composition habits
Realistically, better photos are usually better scene control. Not better filters.