My external drive suddenly stopped mounting on my Mac, and I keep getting the com.apple.diskmanagement.disenter error 49218 message. I’ve tried reconnecting it and using Disk Utility, but I still can’t access my files. I need help figuring out what this error means and how to fix the external drive without losing data.
I ran into this same mess on my Mac. Disk Utility saw the drive, but it stayed gray and threw Error 0 with the com.apple.DiskManagement.disenter message. What I learned was simple. The Mac detects the hardware, then fails when it tries to mount the file system.
What caused it for me was usually one of these:
- I pulled the drive without ejecting it first.
- The file system and macOS version did not get along, mostly on Monterey or Ventura.
- fsck got stuck and held the drive hostage.
If your files matter, I would not keep poking at it blindly. Start with the safer stuff first.
- Kill the stuck disk check
This fixed it more than once for me.
macOS starts fsck in the background after an unsafe eject or after it sees file system damage. While fsck is busy, or frozen, the drive often refuses to mount. exFAT drives seemed worse for this on my setup.
Open Terminal from Applications > Utilities and run:
sudo pkill -f fsck
Type your password and press Enter. You will not see the characters while typing. On my machine, the drive sometimes showed up right after this. If it mounts as read-only, copy your files off right away. Don’t wait.
- Run First Aid in the right order
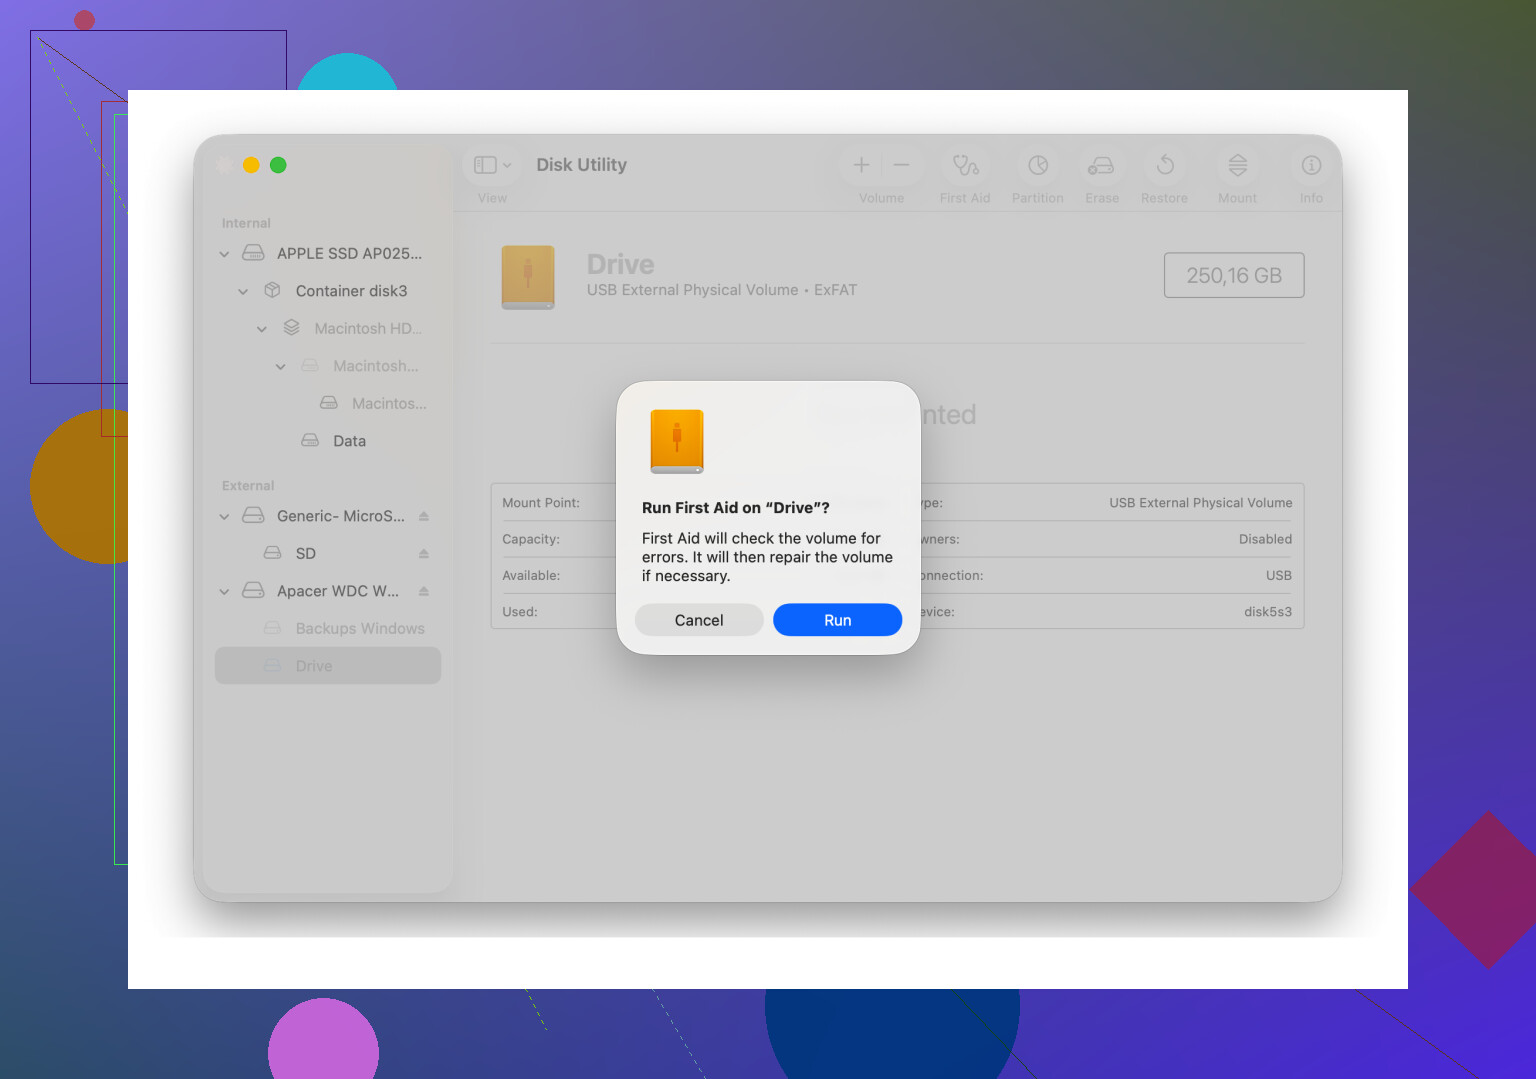
A lot of people only run First Aid on the volume itself. I had better luck after showing the full device tree.
In Disk Utility:
- Open View
- Pick Show All Devices
- Select the physical disk
- Run First Aid
- Then run it on the container
- Then run it on the volume
I had one case where the first pass failed, the second did nothing useful, and the third one cleaned up a directory issue. So yes, running it again is worth a shot.
- Log out and back in
This sounds dumb. I know. I thought it was fake forum advice when I first saw it.
Still, I tried logging out of my account and back in, and the drive mounted after. I also saw one case where the drive opened fine in a second user account but not in my main one. If that happens, you are dealing with a user-level glitch, permissions, cached settings, something along those lines.
- Check Time Machine
If the drive used to be tied to Time Machine, macOS sometimes keeps its claws in it through local snapshots or backup-related state.
I went into System Settings and turned off Back Up Automatically for Time Machine. After doing that, one stubborn disk finally let go and mounted. Not elegant, but it helped.
- Stop forcing it if the errors keep piling up
This was the point where I made things worse once, so I stopped doing hero stuff with Terminal.
If First Aid keeps failing and mount attempts keep throwing the same error, I would switch to recovery mode, meaning data recovery, not macOS Recovery. Repeated repair attempts on a damaged file system can make the directory structure uglier than it already is.
The tool I used was Disk Drill. The useful part was this, it did not need macOS to mount the drive first. It scanned the disk at a lower level and showed me files I could copy to another healthy drive.
I used it on a WD_Black external drive a while back. The drive would not mount at all, but the scan still pulled up the folder tree in preview. I grabbed the important stuff first. Only after that did I mess with wiping the disk.
- Reformat after the data is safe
Once you have your files off, a clean erase is often the only way to make the drive usable again.
In Disk Utility:
- Select the physical disk, not only the volume
- Click Erase
- Pick the format based on how you use it
What I use:
- Mac only: APFS or Mac OS Extended (Journaled)
- Mac and Windows: exFAT
Small note from hard experience, if you need exFAT, formatting it on the Mac helped me avoid weird compatibility issues I had after using a Windows format first.
A couple practical things I wish someone told me sooner:
- If the drive mounts read-only, treat it like an emergency and copy data first
- Large drives take a long time during checks, especially 4TB and up
- RAID is not backup
- Safe eject matters more than people think
That was the order I would follow again. Kill fsck, run First Aid on all levels, test another user session, disable Time Machine if relevant, recover data if needed, then erase.
14 Likes
Error 49218 usually means macOS sees the drive, but refuses the mount because the partition map or file system metadata looks wrong. I agree with some of what @mikeappsreviewer said, but I would skip random repeated repair attempts if the data matters. First Aid is fine once or twice. Ten times is how people make a bad disk worse.
Do these checks first.
-
Test the drive on another Mac, or on a Windows PC if it is exFAT or NTFS. If it mounts there, your Mac is the problem, not the drive.
-
In Terminal, run:
diskutil list
Find the external disk identifier, then run:
diskutil info /dev/diskX
Look for:
Uninitialized: yes
File System Personality: blank
Read-Only Media: yes
Those point to different issues. -
Try a manual mount:
diskutil mountDisk /dev/diskX
If it fails, try:
sudo gpt -r show /dev/diskX
If GPT output looks broken or missing entries, the partition table is damaged. -
Check SMART status if the enclosure supports it. A lot of “disenter” cases are dying USB drives, not macOS bugs. If SMART says failing, stop messing with repairs.
If your files matter, switch to recovery before erase. Disk Drill is useful here because it scans drives macOS will not mount. I’ve had it pull data off a disk Disk Utility wanted to pretend was dead. Saved me a few hrs of pain.
If the data is safe and you want the drive back, erase the physical disk and rebuild the partition map as GUID. For cross-platform use, exFAT. For Mac-only use, APFS.
A cleaner way to phrase it is, formatting the external drive fixed the com.apple.diskmanagement.disenter error and restored normal mounting.
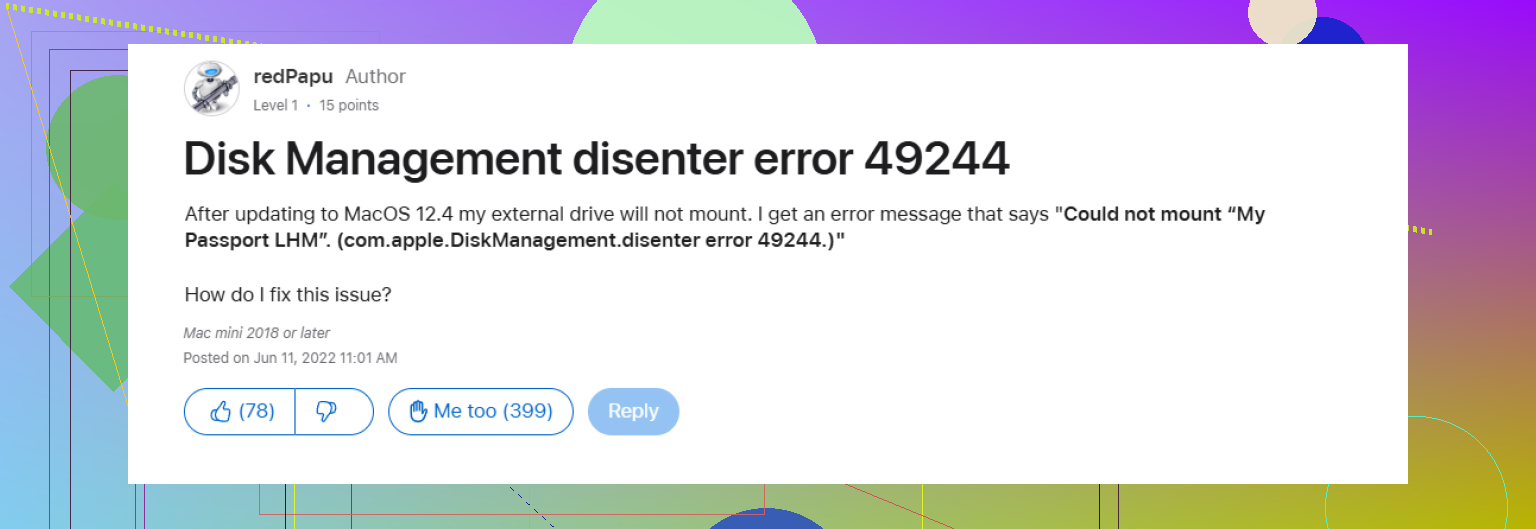
Also worth a read, Apple thread on fixing disenter mount errors.
One more thing. Swap the USB cable and port before you go too far. Sounds dumb, but bad cables waste so much time its ridiculus.
One thing I’d add to what @mikeappsreviewer and @nachtschatten said: check whether the drive is getting enough power before assuming the file system is toast. I’ve had Error 49218 pop up from a bus-powered external SSD that showed up in Disk Utility just fine, but would fail the actual mount because the enclosure kept browning out. Same drive worked instantly with a powered hub. Stupid? yes. Common? also yes.
I’d also check System Information > USB and see if the drive is repeatedly disconnecting/reconnecting. If it is, that points more to enclosure, cable, or power instability than a pure macOS mount issue. I know @nachtschatten mentioned cables, but IMO the enclosure itself gets overlooked way too much.
Another angle: if the bare drive is in a cheap USB enclosure, try a different enclosure or adapter. I’ve seen perfectly healthy drives throw disenter errors just because the SATA-to-USB bridge board was flaking out. Mac sees “something,” but not cleanly enough to mount it.
If the disk shows up with the right size but no usable volume, and you need the files, stop testing random fixes. That’s where Disk Drill makes sense because it can scan the external drive even when Finder refuses to mount it. Recover first, experiment later. That order matters.
If you want a decent walkthrough from someone who dealt with a similar mount failure, this is worth skimming:
how to fix com.apple.diskmanagement.disenter error on Mac and get an external drive working again
Short version: if it’s a power/enclosure issue, repairs won’t fix squat. If it’s logical corruption, recover data first, then wipe the disk.
I’d add one check the others barely touched: look at the mount logs, not just Disk Utility.
Open Terminal and run:
log show --last 10m --predicate 'process == 'diskarbitrationd' OR process == 'kernel'' | grep -i disk
If you see I/O errors, disconnects, or media not present messages, that leans hardware. If you see invalid b-tree, bad superblock, or unsupported filesystem feature, that leans corruption or format mismatch.
I slightly disagree with repeating First Aid multiple times. Once on a shaky drive, maybe twice max. After that you are mostly rolling dice.
Another useful test:
diskutil verifyDisk /dev/diskX
diskutil verifyVolume /dev/diskXsY
Verify is less invasive than repair and can tell you whether to stop before making changes.
Also check if the drive is accidentally hidden from Finder rather than truly unmounted:
Finder Settings > General and Sidebar > enable external disks.
If the enclosure has sleep firmware weirdness, a full shutdown of the Mac, then attaching the drive before boot, sometimes works when hot-plugging does not.
About Disk Drill:
Pros: can scan drives that will not mount, good preview, easy recovery workflow.
Cons: deep scans are slow, recovery quality depends on drive health, paid tier needed for serious recovery.
So yeah, I’m with @nachtschatten, @himmelsjager, and @mikeappsreviewer on prioritizing data first, but I’d use logs and verify commands before doing more repair attempts.